
Bumper paint matching is a challenging task due to bumpers' complex materials and aging effects. Professionals use specialized tools for precise color replication, mixing systems, manual adjustments, and physical comparisons. DIYers can achieve good results with proper preparation: vented workspace, high-quality paint, thorough bumper cleaning, color charts/apps, multiple coats, and clear coat finish.
Many DIY enthusiasts attempt to match bumper paint at home, but achieving professional results can be challenging. This article explores the intricacies of bumper paint matching, delving into the common difficulties and providing practical solutions. From understanding color theory to mastering techniques like spectral analysis, we offer invaluable insights. Learn how to select the right tools, mix colors accurately, and achieve flawless finishes without professional help.
- Understanding Bumper Paint Matching Challenges
- Tools and Techniques for Accurate Matching
- Tips to Achieve Professional Results at Home
Understanding Bumper Paint Matching Challenges

Bumper paint matching is a challenge even for experienced automotive technicians due to several factors. Firstly, bumpers are complex structures with diverse materials, including plastic, metal, and sometimes composite parts. Each material has its own unique properties, affecting how paint adheres and wears over time. This variability makes achieving precise color matching across different sections of the bumper an intricate task.
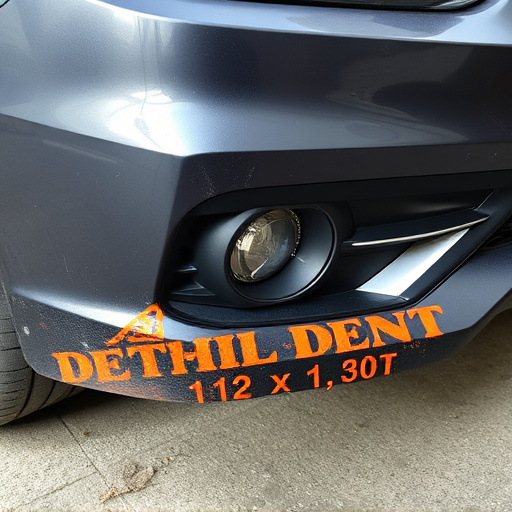
Additionally, the aging process takes a toll on car bumpers, leading to changes in the paint finish due to exposure to sunlight, weather conditions, and road debris. Even minor damage, like scratches or dents, can disrupt the original paint job, complicating the matching process during autobody repairs or collision repair services. These challenges underscore why professional results are often hard to replicate with DIY bumper paint matching attempts.
Tools and Techniques for Accurate Matching
Achieving precise bumper paint matching is an art honed through meticulous techniques and specialized tools in the realm of automotive repair. The process demands a keen eye for detail, as even slight variations can impact the final result. Professionals in automotive collision repair often rely on advanced equipment like color scanners and computer-aided mixing systems to ensure exact color replication. These tools capture the unique spectral properties of the existing paint, allowing for a digital match with minimal error.
In a car body shop setting, mastering bumper paint matching involves a combination of scientific precision and artistic skill. Experts utilize various techniques, such as manual mixing and adjusting pigment levels, along with physical comparisons against samples. The goal is to blend the new paint seamlessly with the existing finish, ensuring no visible gaps or inconsistencies. This meticulous approach guarantees that the repaired bumper not only matches the original aesthetic but also maintains its structural integrity, enhancing the overall quality of the automotive repair work.
Tips to Achieve Professional Results at Home
Achieving professional results with DIY bumper paint matching requires a bit of preparation and attention to detail. First, ensure your work area is well-ventilated; automotive paints can have strong fumes. Next, use high-quality paint designed for vehicle repair services—it will offer better coverage and durability compared to regular household paints. Before starting, thoroughly clean and prepare the bumper surface; any debris or dirt can affect the final match. A smooth base ensures the paint adheres properly.
When mixing colors, refer to a color chart provided by collision centers or use an app designed for bumper paint matching. These tools make it easier to achieve the exact shade. Allow ample time for multiple coats; a single coat might not mask imperfections or blend smoothly. Let each layer dry completely before applying the next, and consider using a heat gun or hairdryer to speed up the drying process between coats. The final step is to add a clear coat to seal and protect the paint job, enhancing its longevity and resistance to scratches and chips.
While DIY bumper paint matching can be challenging, with the right tools and techniques, achieving professional results at home is achievable. By understanding the unique complexities of bumper paint matching and employing specific strategies, you can ensure a seamless finish that complements your vehicle’s original appearance. Remember, patience and precision are key to successful DIY bumper repairs, but with practice, you’ll master the art of matching like a pro.